One of the most common driveway installation options is block paving. It provides great long-term value, durability and is extremely versatile with all the various colours, patterns and styles you can design with it. Here is a look at how we would normally lay a driveway using block paving.
Removal of existing driveway
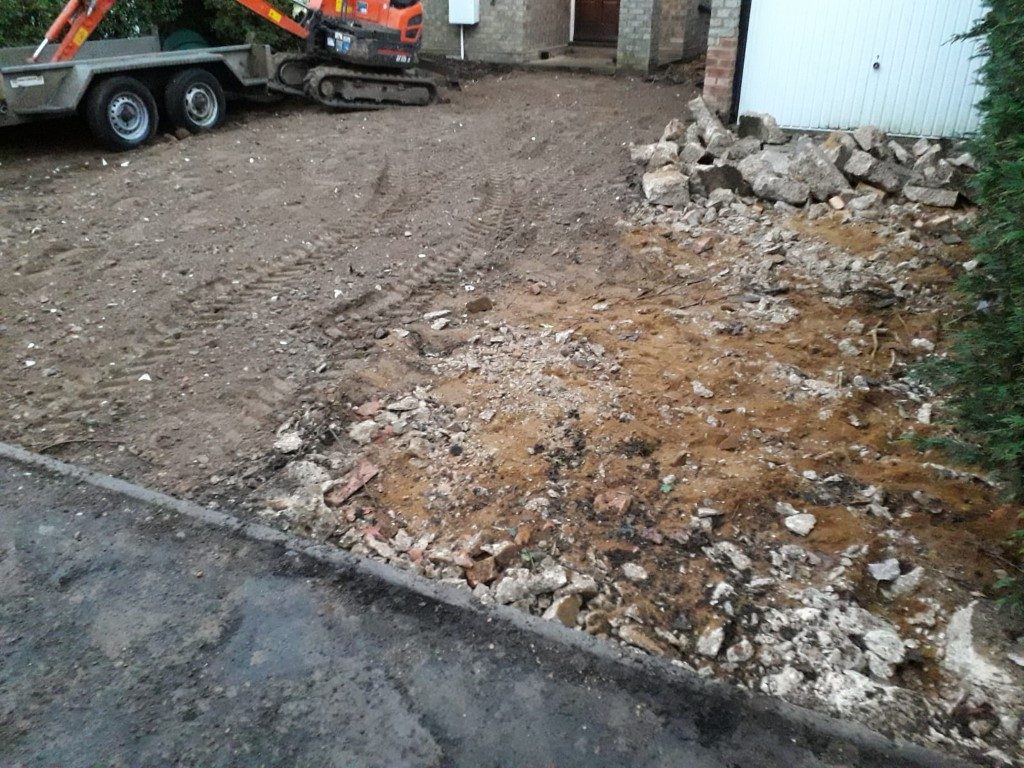
The first step would any new driver installation is the removal of the existing driveway. Once you removed the existing driveway you need to excavate the area to ensure that you can have a new base foundation installed.
We recommend on larger driveways to always use diggers which will allow you to excavate concrete or tarmac without any problems.
Always make sure when excavating a driveway to check for any piping or electrical wiring may be running on the driveway. You can use cable detectors or similar to find hidden wiring.
The same applies for water and gas pipes. If in doubt we always recommend consulting your local council for drawings to highlight where the piping runs.
New base foundation
We recommend always with new driveway installations that you have at least 6 inches of a type 1 MOT foundation. This ensures not only a permeable base it also ensures a solid foundation that is capable of withstanding heavy vehicle traffic.
Standard foundation for any driveway is made up of 2 to 3 layers. The lowest level is generally a very coarse or dense crushed concrete stone with the finishing layers being type 1 MOT hardcore.
Of course, this only really applies to standard driveways if you are looking to install a permeable driveway which has to deal with heavy water flooding the base foundation would be deeper, It would also require type for MOT instead of type 1. You can read about our permeable driveway options here.
Membrane Sheeting
The next stage would be put down membrane sheeting this is not as people think to stop weeds this is to stop base mixing with the River wash sand which is applied on top of the membrane. Weeds very rarely will grow through the ground especially if you have done your base preparation correctly.
Weeds generally grow in the gaps between the paving joints the joints are normally made up of KDS which is short for kiln dried sand. This type of weed growth is easily handled with maintenance once to twice a year.
Bordering or Edging Driveway
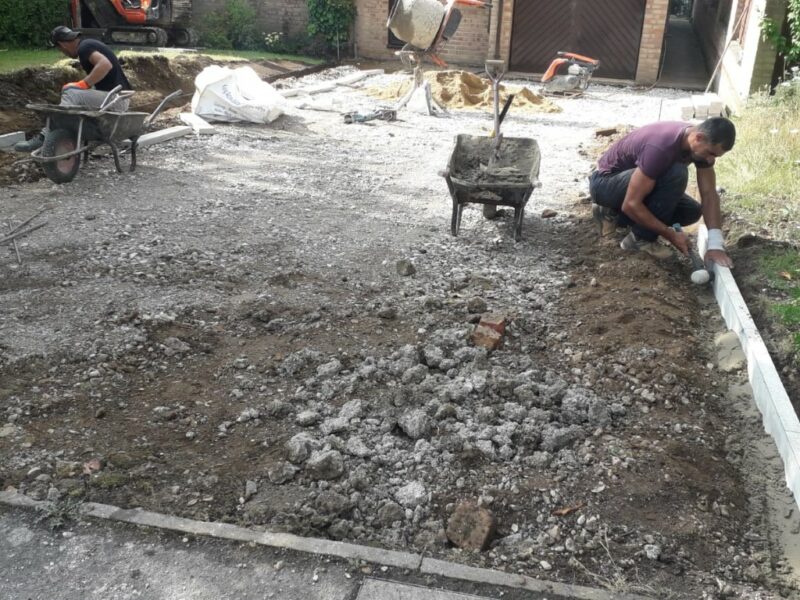
At this stage you will decide whether you wish to have a standard border around your driveway which will act as a retainer or if you would be using edging curbs. Regardless of your choice it should always be benched in concrete and set to an accurate finished level. We offer a range of kerbing choices for your driveway or patio, make sure to visit our kerbing section to read more about it.
Drainage / Inspection Chambers
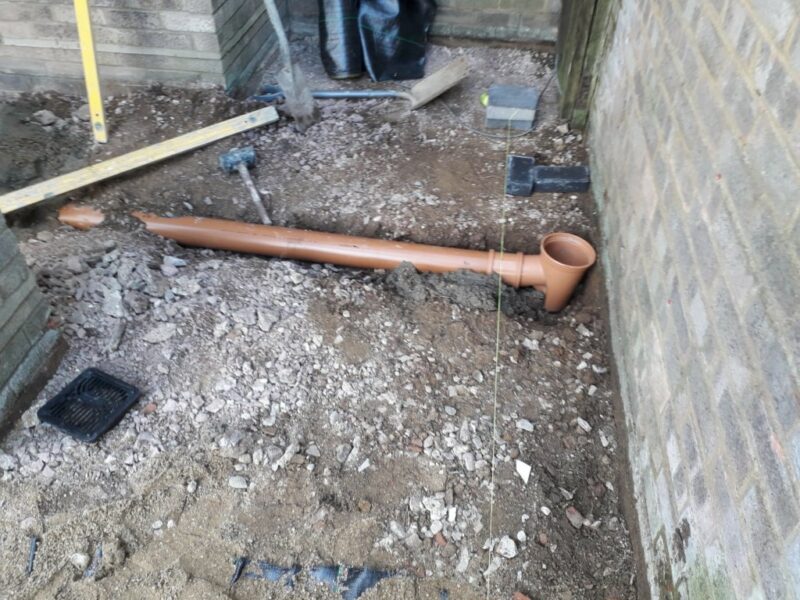
The next stage of your driveway installation, is about setting in any drainage that is required according to SUDS regulations or as needed to handle surface water.
Inspection Chambers or is more commonly known manhole covers are generally replaced at this stage with a new recessed inspection chamber. This allows you to lay the paving inside of the cover allowing it to blend in with the driveway.
Step Installations
We will not go into detail on how to build steps or the choices available on this guide, you can visit our steps guide to see the various types of block paved steps we can build for you in Durham and the options available to you.
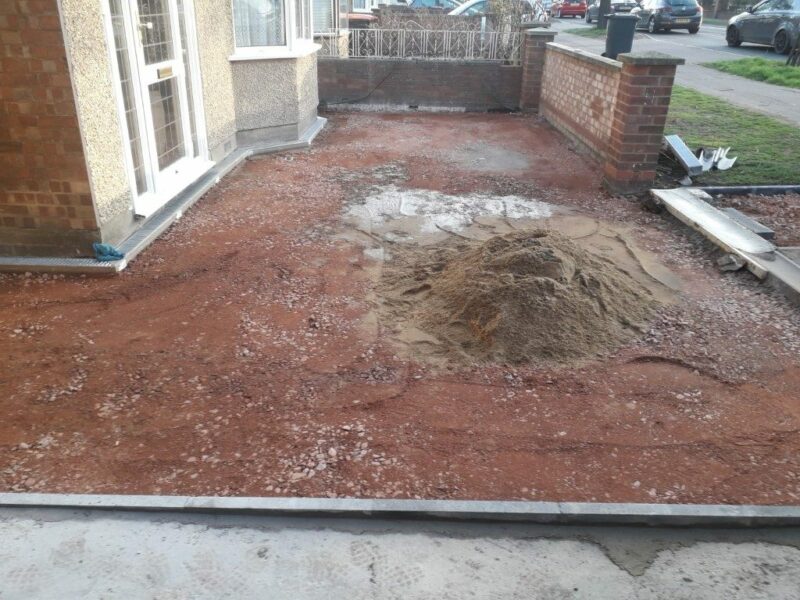
River Washed Sand
The next stage of preparation is applying a sand base preferably river washed to the driveway. Once you have roughly leveled off the sand you will have to set accurate screeding levels.
Screeding levels are generally set when you use conduit piping or similar which is set off a string line and a screeding bar is used to pull back the sand set at the level of the conduit piping.
When you have screeded off the driveway, you should remove your conduit piping. You can back-fill the gaps left by the piping by using sand and hand floating.
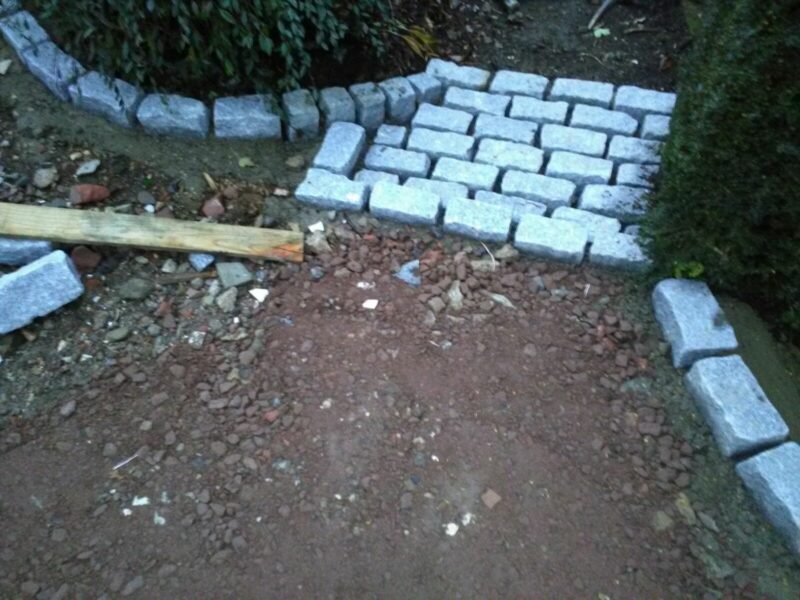
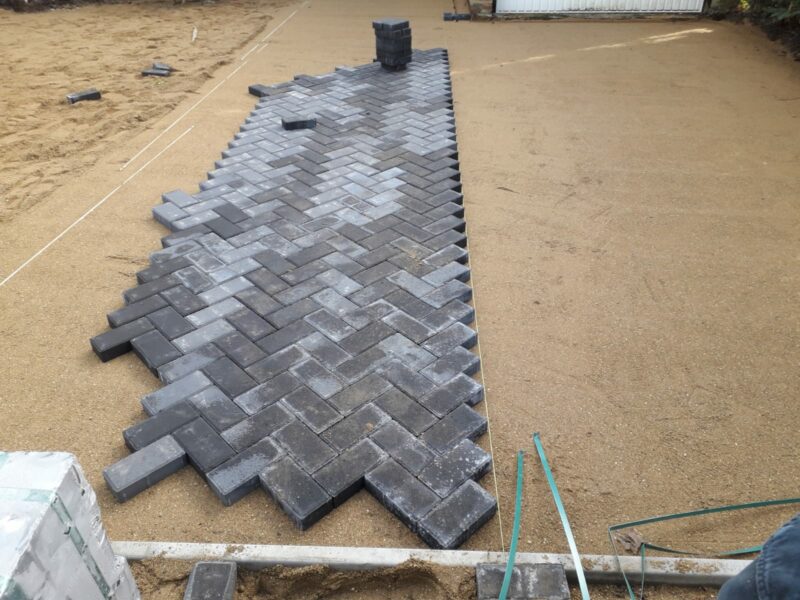
Laying The Block Paving
At this stage you can generally start laying your block paving. We always recommend pulling a string line from the house or from whichever angle you wish to lay the block paving off of.
The most common style of block paving pattern is 45° or a 90° herringbone. You can of course choose to lay the paving in a variety of different styles but the herringbone pattern is where the original term of interlocking comes from. This generally gives the strongest interlock to the driveway paving. Read more about block paving patterns here.
Once you have laid the block paving the next stage is to cut in any of the paving that needs to be cut. You have generally two different ways of cutting block paving
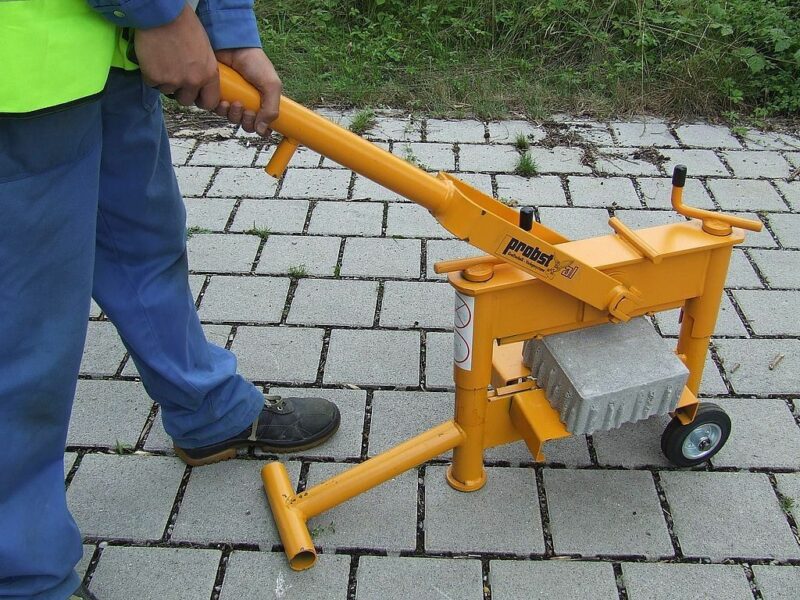
The first option is to use block paving splitter. The most renowned splitter for block paving is from Probst. They are generally safe to use but we do recommend having two people using it. One inserting the block for cutting it and other to pull the handle of the splitter.
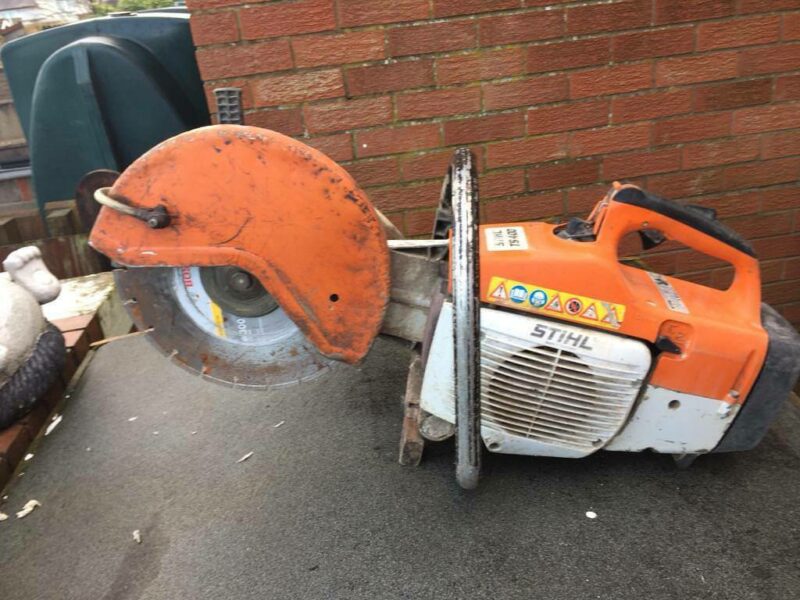
The second option is to use a consaw. This is large version of a grinder which is generally powered by petrol. It uses a diamond blade saw which will cut through the block paving at a very fast speed. This option provides the best quality of cuts but we only recommend using a consaw if you have prior experience to using similar equipment. It can be very dangerous to use and not recommended as an amateur.
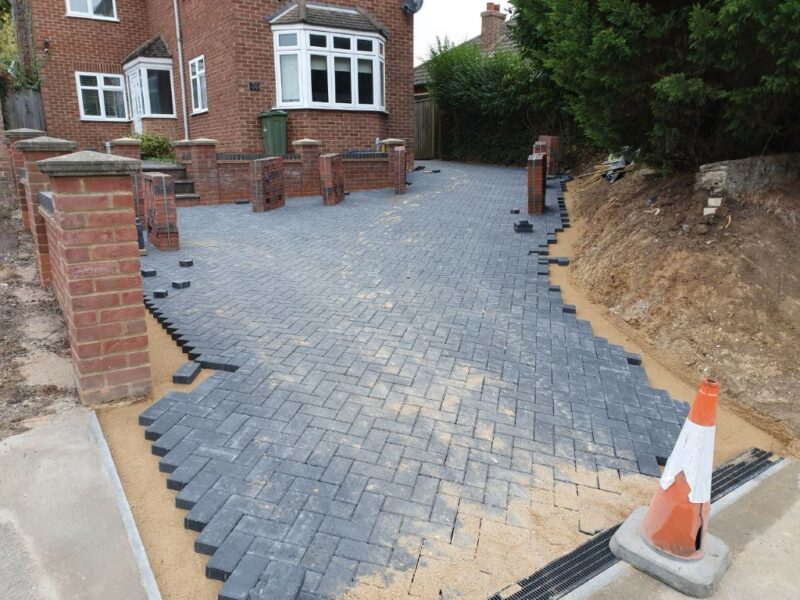
Once you have carried out all your cutting, then apply KDS for jointing block paving. KDS is short for kiln dried sand which is brushed into the joints. You will vibrate compact the finished block paving using a Wacker plate.
Once you have finished compacting the block paving, you will then reapply KDS over the driveway, making sure all the joints are topped up. Sweep off and enjoy your new block paved driveway.
If you would like to know more or would like a free quote, please make sure to get in touch with one of our Proven Local experts today.